
Easy Butterfinger Poke Cake: A Foolproof, Beginner‑Friendly Recipe
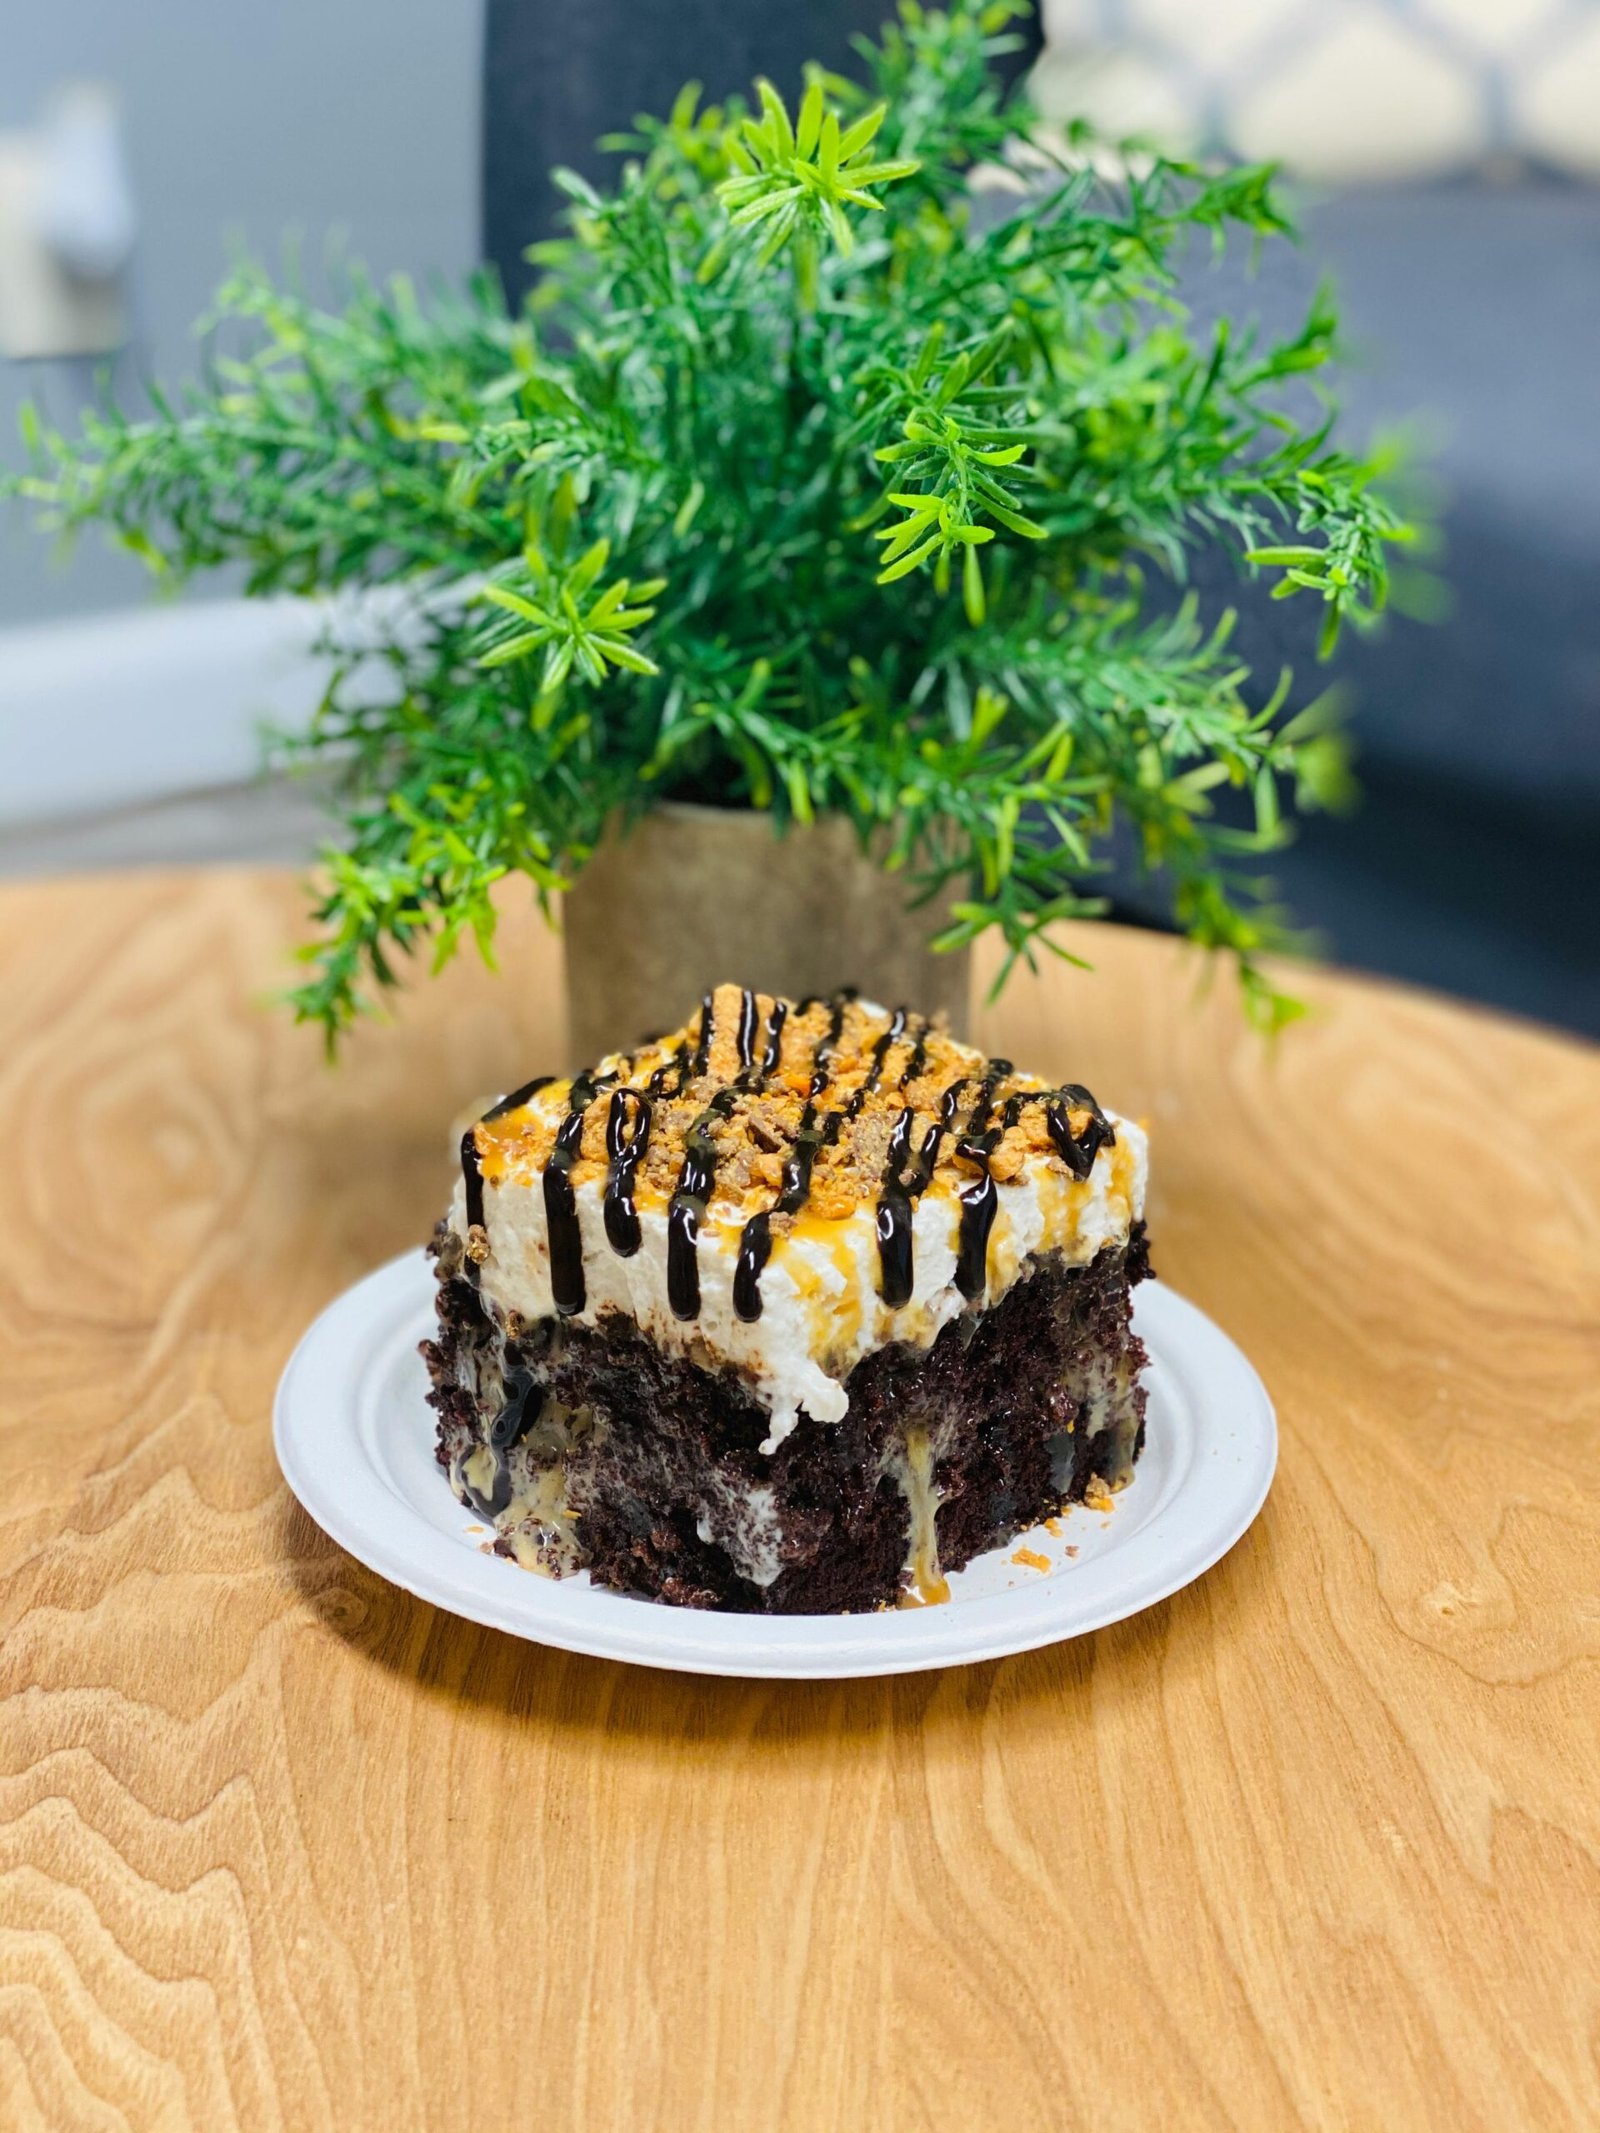
Butterfinger Poke Cake combines a tender chocolate cake and crisp Butterfinger candy for an effortless, crowd-pleasing dessert. Perfect for beginners, this recipe removes the guesswork from baking by using simple ingredients and straightforward steps.
Whether you’re celebrating a special occasion or craving a weekend treat, this cake delivers bakery-quality results without complex techniques. The poke-and-fill method creates moist pockets of sweetness that elevate the classic chocolate cake experience. You’ll feel confident at every stage of the process and enjoy delicious rewards.
Key Takeaways
- Essential ingredients and their roles in achieving perfect texture and flavor.
- Foolproof prep and oven tips to avoid common baking mistakes.
- Variations for gluten-free, vegan, and lower-sugar adaptations.
- Recommended tools to streamline your baking process.
Essential Ingredients for Perfect Butterfinger Poke Cake
For the Cake Base:
- 1½ cups all-purpose flour (for structure and crumb)
- ½ cup unsweetened cocoa powder (deep chocolate flavor)
- 1 teaspoon baking powder (lift and softness)
- ½ teaspoon baking soda (extra rise)
- ¼ teaspoon salt (enhances chocolate notes)
- ½ cup unsalted butter, softened (richness and moisture)
- 1 cup granulated sugar (sweetness and texture)
- ½ cup brown sugar, packed (moisture and caramel undertones)
- 2 large eggs (structure and binding)
- 1 teaspoon vanilla extract (flavor enhancer)
- ¾ cup milk (moisture and tenderness)
For the Poke Filling & Topping:
- 1 (14 oz) can sweetened condensed milk (luxurious, sticky filling)
- 2–3 Butterfinger candy bars, crushed (about 1½ cups)
- Whipped cream or chocolate frosting (optional decorative topping)
Each ingredient in this Butterfinger Poke Cake recipe has been chosen to contribute specific qualities. Flour and leaveners create the perfect cake structure, cocoa powder ensures an intense chocolate backdrop, and sugars deliver both sweetness and moisture. The gentle touch of vanilla ties everything together, while sweetened condensed milk and crushed Butterfinger pieces transform a classic chocolate cake into a spectacular poke cake with candy pockets.
Why These Ingredients Matter for Your Butterfinger Poke Cake
Chocolate Depth & Moisture:
Unsweetened cocoa powder provides the rich chocolate flavor essential to any Butterfinger Poke Cake. Paired with a balance of granulated and brown sugar, the batter stays moist without becoming overly dense. Butter adds silkiness, and milk ensures a tender crumb that soaks up the poke filling.
Leavening Precision:
Combining baking powder and baking soda yields optimal rise and a tender texture. Measuring these agents precisely prevents under- or over-rising, ensuring your Butterfinger Poke Cake emerges light and perfectly baked.
Candy Crunch Integration:
Crushed Butterfinger bars offer contrast in texture and flavor. By tossing candy pieces in a light dusting of flour before adding, you prevent them from sinking to the bottom, achieving evenly distributed crunchy bits throughout your Butterfinger Poke Cake.
Before You Begin: Prep & Oven Tips
Proper preparation is key to a flawless Butterfinger Poke Cake. Gather all ingredients and tools before you start to maintain flow and avoid missing steps.
- Room Temperature Ingredients: Bring butter, eggs, and milk to room temperature for even incorporation.
- Preheat Oven to 350°F (175°C): Allow at least 15 minutes for stable, accurate heat.
- Pan Preparation: Grease a 9×13″ pan, then line with parchment paper for easy cake removal and clean edges.
- Oven Thermometer: Place at rack level to confirm your oven runs true to temperature, ensuring your Butterfinger Poke Cake bakes evenly.
| Task | Tip |
|---|---|
| Workspace | Clear counters; line up ingredients in order of use. |
| Pan Prep | Grease and line with parchment; press for snug fit. |
| Temperature Check | Read thermometer after preheating; adjust rack placement if needed. |
Step-by-Step Butterfinger Poke Cake Recipe
Step 1: Prepare Dry & Wet Mixes (5 minutes)
In a bowl, whisk together 1½ cups flour, ½ cup cocoa powder, 1 teaspoon baking powder, ½ teaspoon baking soda, and ¼ teaspoon salt. In a separate large bowl, cream ½ cup softened butter with 1 cup granulated sugar and ½ cup brown sugar until light and fluffy. Beat in 2 eggs, one at a time, then stir in 1 teaspoon vanilla.
Step 2: Combine & Add Milk (3 minutes)
Gradually add the dry mixture to the butter-sugar-egg blend on low speed with an electric mixer. Pour in ¾ cup milk and mix until smooth, scraping down sides to ensure uniform batter.
Step 3: Bake the Cake (30 minutes)
Transfer batter into the prepared 9×13″ pan, smoothing the surface with a spatula. Bake in the preheated oven for 25–30 minutes or until a cake tester inserted near the center comes out with moist crumbs. Let the cake cool in the pan for 10 minutes.
Step 4: Poke & Pour Filling (5 minutes)
Use the back of a wooden spoon or handle of a spatula to poke evenly spaced holes across the top of the warm cake. Slowly drizzle the 14 oz can of sweetened condensed milk over the cake, allowing it to fill each hole, soaking into the crumb.
Step 5: Top with Butterfinger Candy (2 minutes)
Sprinkle 1½ cups of crushed Butterfinger pieces evenly over the cake surface. If desired, pipe whipped cream or chocolate frosting on top for an extra layer of indulgence. Refrigerate for at least 30 minutes to set before serving.
Recommended Tools for Baking Butterfinger Poke Cake
| Must-Have | Optional |
| 9×13″ baking pan | Offset spatula |
| Electric mixer (hand or stand) | Candy thermometer |
| Mixing bowls | Piping bag & tips |
| Measuring cups & spoons | Cake tester |
Equipping yourself with these tools simplifies each step, from mixing ingredients to checking doneness. A reliable electric mixer ensures a smooth batter, while the cake pan and parchment deliver clean edges. Optional tools like an offset spatula and piping bag help with presentation, making your Butterfinger Poke Cake look as good as it tastes.
Common Mistakes and How to Avoid Them
Sinking Center – Often caused by underbaking or incorrect oven temperature. Use an oven thermometer and extend bake time by 2–3 minutes if needed.
Dry Crumb – Overmixing or too much flour makes cake dry. Spoon flour into measuring cups and mix batter just until combined.
Candy Clumping – Uneven distribution of Butterfinger pieces. Toss crushed candy in a teaspoon of flour before adding to batter and topping.
Runny Filling – Overpouring sweetened condensed milk can saturate the cake excessively. Drizzle gradually and allow absorption before adding more.
Variations & Dietary Adaptations {#variations}
Customize your Butterfinger Poke Cake to match dietary needs or flavor preferences:
| Adaptation | Modification |
| Gluten-Free | Use a 1:1 gluten-free flour blend; verify leaveners are certified GF. |
| Vegan | Replace butter with vegan butter, eggs with flax eggs, milk with almond milk. |
| Lower Sugar | Substitute half sugar with coconut sugar; use sugar-free condensed milk. |
| Peanut Butter | Swirl ¼ cup melted peanut butter over the condensed milk before topping. |
Each variation retains the essence of a classic Butterfinger Poke Cake while accommodating dietary restrictions or personal tastes.
Storage & Serving Suggestions
Store leftover Butterfinger Poke Cake in an airtight container at room temperature for up to 3 days or refrigerate for up to 1 week. For best flavor, bring the cake to room temperature before serving. Garnish slices with fresh berries or a dusting of cocoa powder, and pair with vanilla ice cream, coffee, or milk for a complete dessert experience.
This Butterfinger Poke Cake recipe transforms simple pantry staples into a stunning, crowd-pleasing dessert. By mastering the poke-and-fill technique and following our detailed tips, even beginner bakers can achieve flawless results. The combination of a moist chocolate cake base and crunchy Butterfinger candy pockets guarantees an unforgettable treat for any occasion. Gather your ingredients, try this recipe today, and share your delicious Butterfinger Poke Cake on social media—tag us so we can celebrate your baking success!
FAQ
Q1: Can I use a boxed cake mix?
Yes. Substitute a chocolate cake mix and follow package directions, then proceed with poking and topping.
Q2: How finely should I crush Butterfinger bars?
Aim for pea-sized pieces by placing bars in a sealed bag and gently tapping with a rolling pin.
Q3: Can I freeze this poke cake?
Absolutely. Wrap tightly in foil and freeze for up to 3 months. Thaw overnight in the refrigerator.
Q4: What can replace sweetened condensed milk?
Use a mix of evaporated milk and sugar boiled until thick, or a dairy-free condensed milk alternative.
Q5: Why did my cake turn out soggy?
Likely due to overpouring the filling or underbaking. Reduce condensed milk or bake 2–3 minutes longer.
Q6: How do I make this nut-free?
Ensure your Butterfinger candy and all tools are nut-free. Omit any additional nut-based toppings.
Q7: Can I add other candies?
Yes. Swap or mix in chopped Snickers or Reese’s for a different flavor profile.
Q8: Is this recipe suitable for celebrations?
Definitely! Its dynamic texture and candy pockets make Butterfinger Poke Cake a festive showstopper.